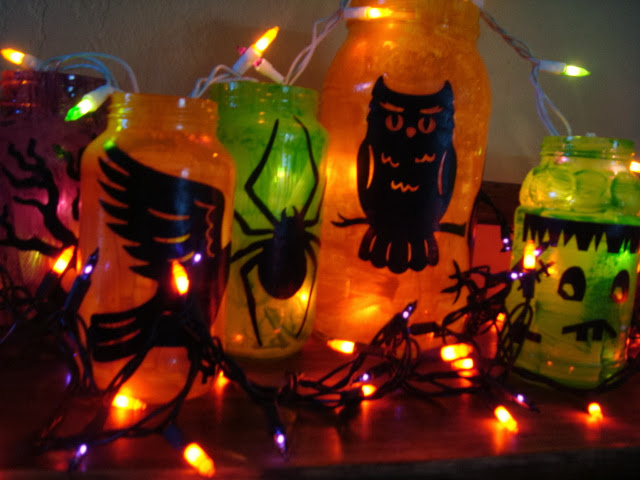
To begin: Supplies -
- Various clean glass jars. (Pickle, Spaghetti, Ect.)
- Various colors acrylic paint.
- Brushes, and sponge brushes
- Cut outs on black card stock, or construction paper for best lighting effect.
- Mod Podge
Step One - Clean jar. After washing with soap and water, I soaked mine for about 10 minutes in very hot water in my sink, and the label and glue came right off.
Step Two - Paint the inside of your jar. Let dry about 10 minutes and add a second coat. Be careful because the paint can come off on the slippery glass surface. I got lucky as some of my jars only needed one coat of paint.
Step Three - Lightly coat your black cut out with Mod Podge on the side that will be pasted face down onto the outside of the jar. Then adhere it to the jar, like so...
Step Four - Coat your entire cut out in Mod Podge. Let dry for a good 15 to 20 minutes. The Mod Podge will leave a white film, but once it dries completely it will be clear, and will never come off.
Now Enjoy!
I got many of my cut outs from the Dollar Tree in the Halloween section, and they come in a pack of birds, owls, rats, or spiders, so if those look familiar that's why. The pumpkin and the Frankenstein, however, I cut out of black card stock, and pieced together myself, so the possibilities are endless. You can use white lights, candles, or electric tea lights in these. They are as cute during the day without light as they are lit up! I'm thinking of doing a Christmas version of these this year as well. Happy Crafting!


No comments:
Post a Comment